Features
Part of How to build a backroad travel itinerary: route first, services after
What does a photographer pack when planning a backroad itinerary?
A backroad photography kit is built around reach, dust and light: what goes in the bag, what stays in the vehicle, and why each item earns its place.
What to take away
- Pack for reach, not rangeone body, two lenses, and a camera you can grab from the driver's seat.
- A rocket blower and a microfiber cloth matter more than a third lens on gravel.
- A headlamp, a paper map and two liters of water per person belong in every kit, whatever the forecast.
- Anything you would have to unpack the vehicle to reach will not get used after the first day.
What a photographer packs for a backroad itinerary comes down to reach. Carry what you can grab while the light is doing something, and leave the rest in a closed case. A sling on the passenger seat beats a backpack in the cargo area.
The bag itself
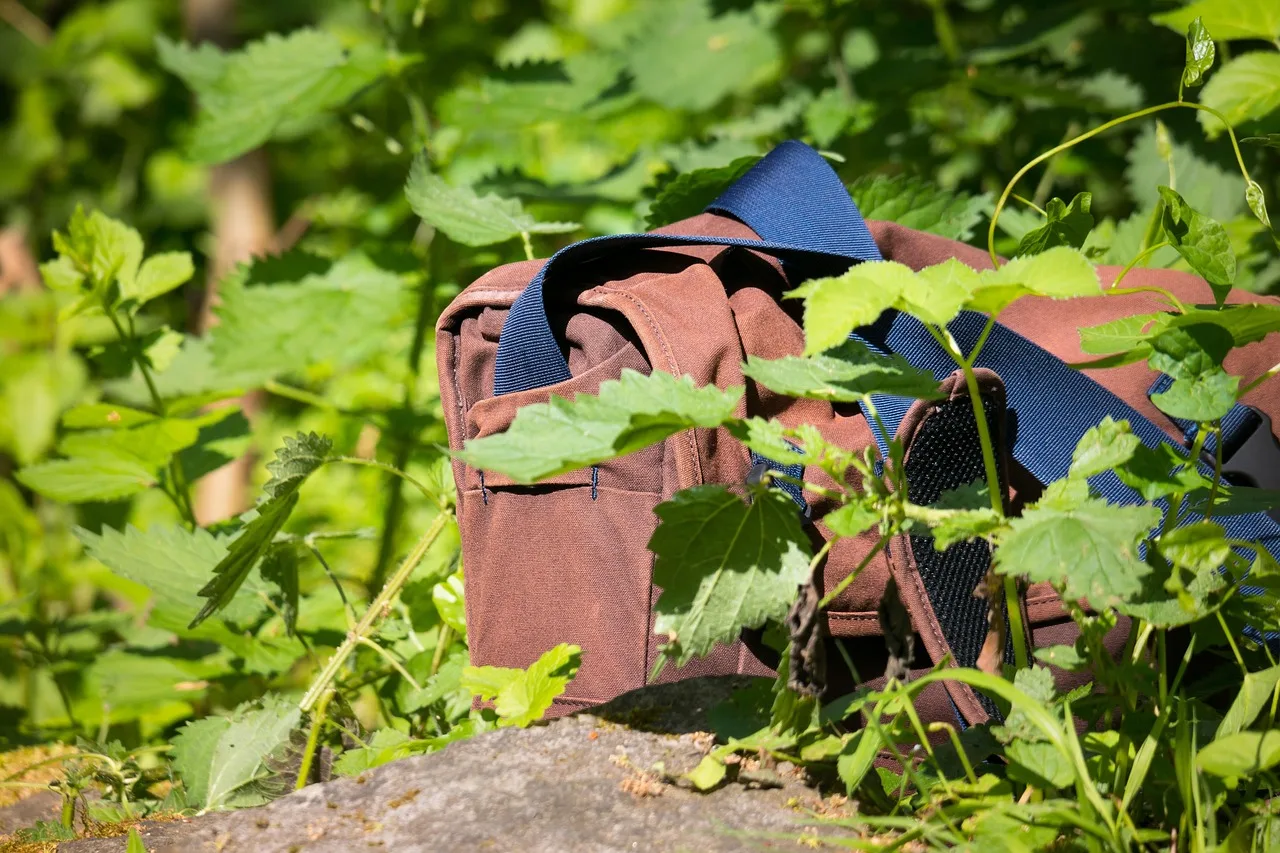
A sling or shoulder bag beats a backpack on a driving itinerary. You rarely walk far, and a bag you can swing around from the driver's seat gets used at four times the rate of one you have to park and open.
Peak Design's Everyday Sling comes in 3, 6 and 10 liter sizes, typically $100 to $200. Think Tank Photo's TurnStyle slings run similar money. Both shorten to chest height, which keeps the load off your hip on washboard gravel.
Add a rain cover, and pick a bag that closes. Dust is the bigger problem on gravel, and a bag left open on the passenger seat collects it.
What goes in it
- One camera body, plus a spare battery and a second carda Sony a6700 or Canon EOS R50, typically $600 to $1,500 body only, with OEM batteries at $50 to $90
- A wide zoom, roughly 16 to 35mmthe Sony FE 16-35mm f/4 PZ G or the Canon RF 15-30mm, for overlooks and roadside frames
- A short telephoto, roughly 70 to 200mmthe Tamron 70-180mm f/2.8 or the Canon RF 70-200mm f/4L, for hoodoos and canyon rims
- A rocket blowerthe Giottos Rocket Air Blower AA1900, about $20
- Two microfiber cloths, one kept dry
- A circular polarizing filterB+W or Hoya, 67mm to 82mm, typically $60 to $150
- A small tripod or a beanbagthe Manfrotto Befree, $150 to $300, or a LensCoat LensSack, $40 to $80
- A headlamp with a red modethe Petzl Actik Core or the Black Diamond Spot 400, about $45 to $70
- A paper mapa DeLorme Atlas & Gazetteer or a National Geographic Trails Illustrated sheet, $15 to $30
Two lenses cover almost every backroad frame. The wide handles the overlook; the telephoto compresses the hoodoos and canyon walls that the BLM's page for the Red Gulch and Alkali Back Country Byway describes along its 32 miles of improved gravel and dirt in the Bighorn foothills.
Planning gear counts as kit. An America the Beautiful annual pass costs $80 and covers entry at Park Service, Forest Service, BLM and Fish and Wildlife sites. Day-use fees on many BLM byways run $5 to $25 per vehicle, so carry cash.
Offline maps belong on the phone before the drive. A Gaia GPS or onX Offroad subscription typically costs $40 to $100 a year. Download the tiles at home, because coverage drops long before the pavement ends.
What stays in the vehicle
A full-height tripod, a second body, a full filter set and a laptop are all reasonable to bring and unreasonable to carry. Keep them in a closed case under a blanket, out of the sun. That is where a Manfrotto 055 or a big studio tripod lives until dusk.
Change lenses inside the vehicle with the windows shut. On light-colored gravel the dust hangs in the air for minutes after a car passes, and it finds an open body.
Worked example: the Needles Overlook run
The BLM's Needles Overlook Interpretive Site sits at the end of 17 miles of paved road west off the Canyon Rims Road, about 32 miles south of Moab. It looks over the Needles district of Canyonlands, and the site page lists photography among its activities.
For that run the kit is deliberately thin:
Needles Overlook run
- one body
- the wide zoom
- the polarizer
- the beanbag
- the headlamp
- two liters of water
You drive to the end of the pavement and shoot from a fixed position, so reach matters less than not fumbling in the dark.
The same logic runs the other way on a byway with stops every few miles. There the telephoto earns its place, because you are shooting from turnouts rather than from one rim.
Dust, glare and the middle of the day
Midday on pale gravel is hard on photographs and sensors. Use those hours for driving, for shade detail and for interiors.
A polarizer pays off here. Rotate it against glare off light-colored rock until the sky deepens in the viewfinder.
A blower you can reach without opening the bag is worth more than a cleaning kit in the trunk. So is a cloth kept dry and separate from the one you use on the lens.
For dust that reaches the sensor, a professional wet clean typically costs $50 to $100 at a camera shop.
Where to go next
The order in which a backroad plan gets built, starting with which routes are open at all, is in the backroad itinerary process. For shooting around opening hours on historic routes, see the historic route field list.
Common questions
Is a tripod worth carrying on a driving trip?
A small one or a beanbag, yes, for dusk and interiors. A full-height tripod usually stays in the vehicle after day two, which is fine if you packed it knowing that.
How do I pack for a route I have never driven?
Read the access description before you choose lenses. A paved spur to a single overlook needs less reach than a byway with turnouts every few miles, and the site page normally says which you are getting.
Should I shoot from the road?
Only from a proper turnout, fully clear of the traveled surface. Blind corners and crests are where photographers get hit, and no frame is worth that.
Do I need a pass or a permit?
Many byways cross BLM or Forest Service land at no charge. National parks and some recreation sites charge entry, and an America the Beautiful annual pass costs $80. Check the managing agency's page before you drive.
What about drones?
Check the specific unit and site before you pack one. Restrictions vary between agencies and some areas prohibit them outright, so confirm with the land manager that controls the ground you are standing on.