Guides
Part of Scenic drive gear under review: the good, the weak and the verdict
Building a scenic drive gear list slowly, one item at a time
How to choose scenic drive gear without rushing the trip: building an equipment list slowly, start with paved routes, add one item at a time.
What to take away
- Start on paved routes with almost nothing. Let each trip tell you what was missing.
- Buy one item at a time, after a trip rather than before one.
- Simple routes with no fee and no services are the best place to learn what you need.
- Rent or borrow the expensive items until you have used them three times.
Most people buy their road trip equipment in the wrong order: everything at once, before the first trip, based on a list written by somebody driving different roads. A slower approach costs less and produces a kit you actually use.
Start where the road asks nothing of you
Start with paved routes that need no special preparation. The BLM's page for the Burr Trail Scenic Byway in Utah describes a route paved for thirty miles.
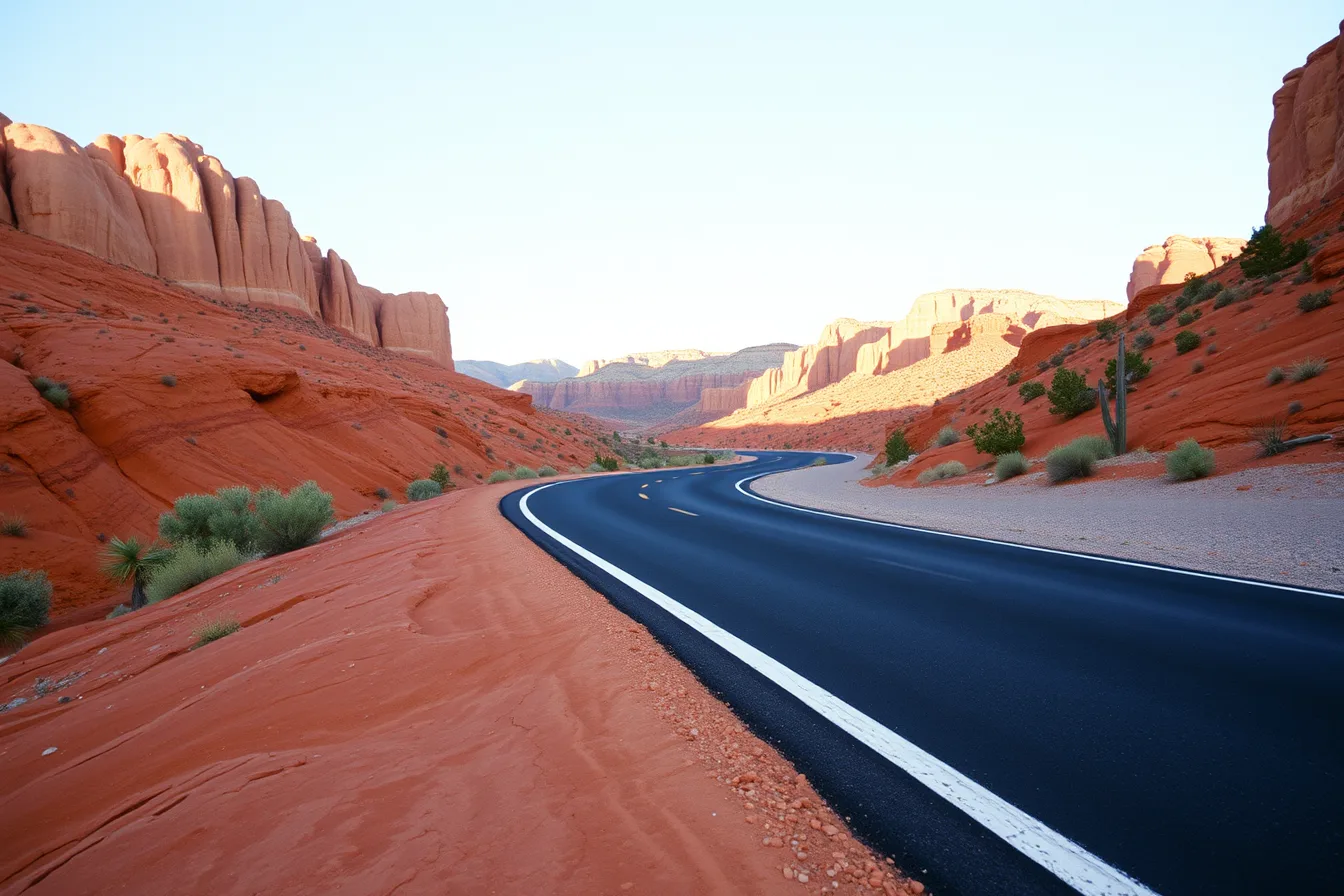
It winds through a deep slickrock canyon and rolling desert forest, reaching the eastern part of Grand Staircase Escalante National Monument. It begins in the middle of Boulder on Highway 12, with no fees listed.
Thirty paved miles with no fee is an ideal first outing. Take what you already own, drive it, and write down what you wished you had. That list is worth more than any recommendation.
Then add one variable at a time
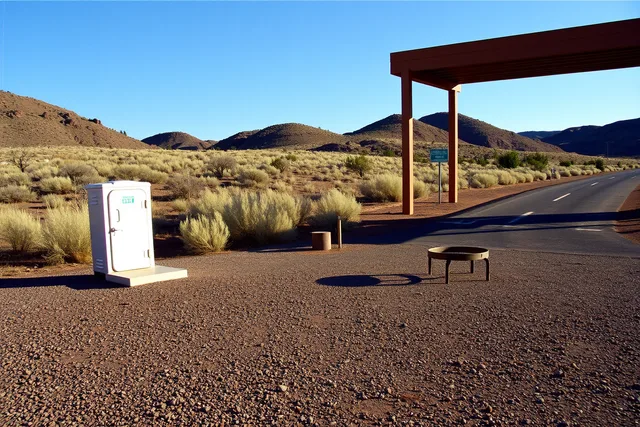
The next step is a short route with a plainer surface and fewer facilities. The BLM's page for the Lunar Crater Back Country Byway in Nevada describes a scenic loop past a volcanic crater, with a stopping point near it where visitors can get out to view the feature. Vehicles are limited to existing roads and trails.
Access is from Tonopah east on US Highway 6 toward Ely, near milepost 79, where the loop is signed on the right, and no fee is listed.
This adds remoteness without adding difficulty. Drive it, and you will learn whether you need more water, better shade or a different tire before spending money on any.
The order to buy in
- Water containers and a way to carry them.
- A tire plug kit, a gauge and a compressor.
- Shade or shelter that guys out properly.
- A cooler, if you now know you want one.
- Recovery equipment, once you have driven surfaces that need it.
- The expensive optional items, last and only after renting them.
Let the route decide
Read the pages for the routes you plan to drive next year. Pull out what they say about water, shade, surface and services. Buy against that list, not a general one.
A kit for the Nevada high desert is not the kit for a wet coastal range. Trying to own both from the start leaves a garage full of unused equipment.
Keep the list where you can add to it during a trip rather than after it. The item you wanted at four in the afternoon on the second day is rarely the item you remember a week later, and a note written in the vehicle is worth more than an hour of research at home.
Where to go next
Which categories survive the conditions once you are out there is covered in what holds up on back roads. The equivalent argument about pacing a historic route rather than a purchase is in how to plan a historic route without rushing.