Features
Part of Fifteen kinds of historic highway: how to tell the real ones from signage
A photographer's field list for historic highway routes
What to shoot and carry on Route 66, the Lincoln Highway, the Natchez Trace and the Blue Ridge Parkway: signs at dusk, old alignments, access hours, dust and roadside safety.
What to take away
- Each historic highway rewards a different shotneon and motels on Route 66, concrete markers on the Lincoln Highway, sunken road and mileposts on the Natchez Trace, fog and stone work on the Blue Ridge Parkway.
- Access decides the day more often than light does. Buildings lock, sites close for the season and visitor centers keep short hours.
- Dust is the real enemy of a camera on gravel. Change lenses inside the vehicle.
- Photograph the ordinary things too. Signage, bridges and surfaces date a route better than the view does.
Historic routes reward a photographer who plans around access first and light second. The best frame is the one you can actually get to while the gate is open.
What to shoot on four named routes
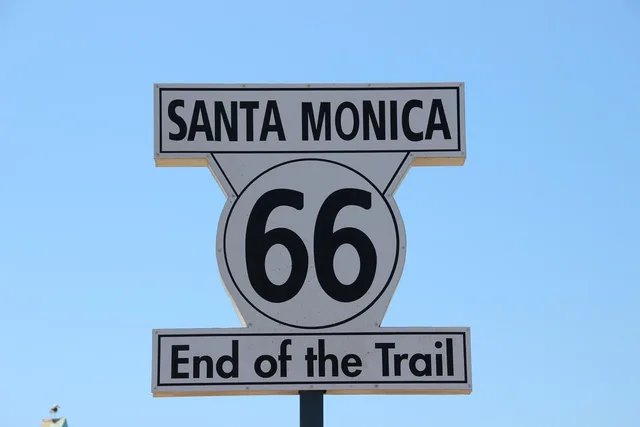
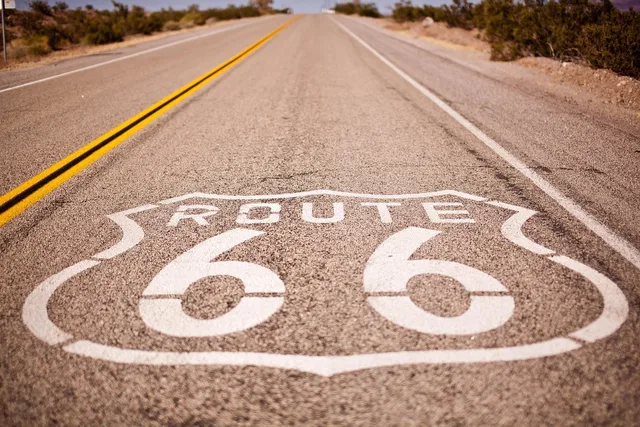
Route 66. Old motel signs, gas station canopies and diners are the subject. Shoot signs in the blue hour after sunset, when neon still shows color against a dark blue sky. Use a tripod, a low ISO and bracketed exposures, because lit tubes burn out fast. The eight-state comparison shows how much the roadside differs from Illinois to California.
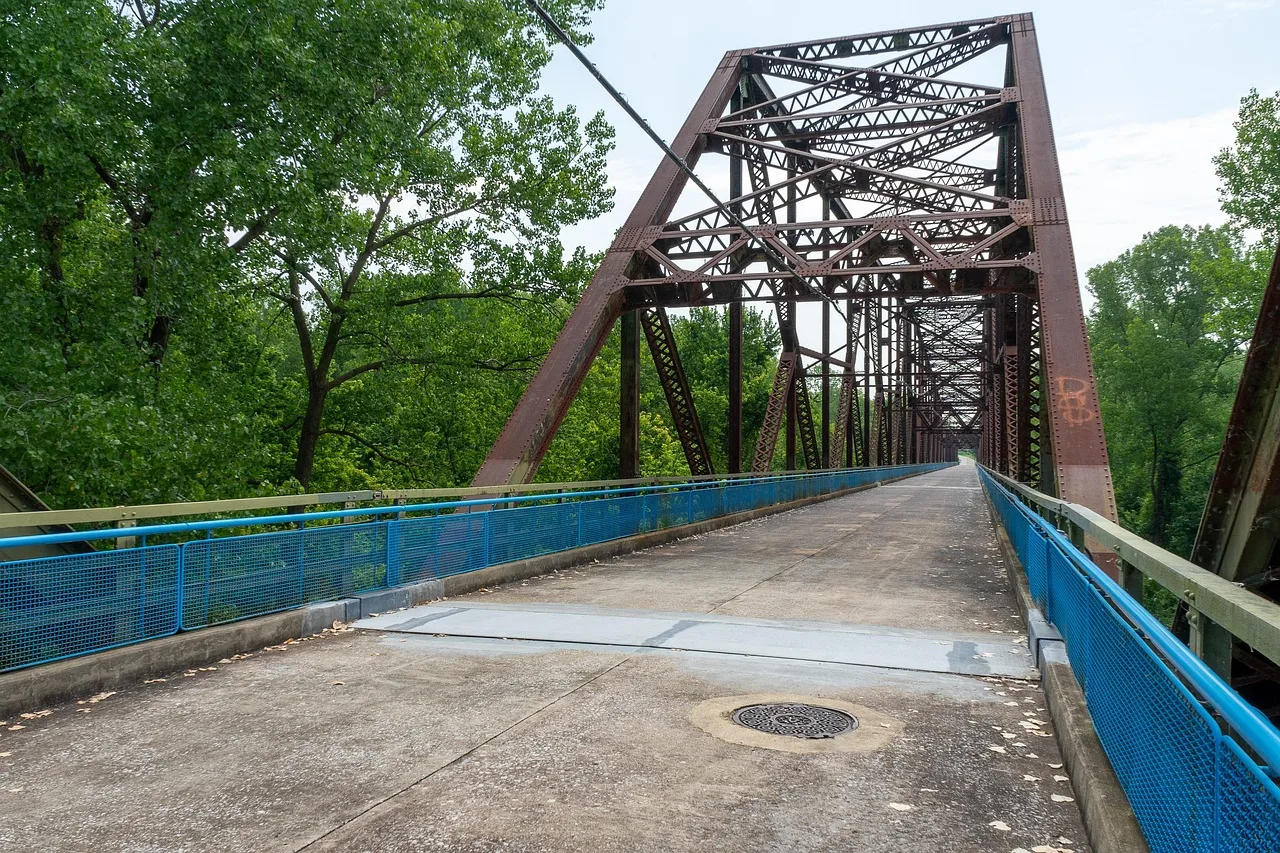
Lincoln Highway. Look for concrete road markers, early bridges and stretches of old pavement beside the modern road. Shoot them square and flat. For where the original line still survives, see the old alignments on a slow Lincoln Highway trip.
Natchez Trace Parkway. The National Park Service marks this 444-mile road with mileposts from Natchez, Mississippi, to Nashville, Tennessee. Photograph the sunken sections of the old trace under tree cover, where soft overcast light works best, and the milepost signs for a record of where each frame was made. A slow trip through the Deep South covers the stops.
Blue Ridge Parkway. Overlooks are crowded at sunrise, so work the quieter spots described in pull-offs against busy overlooks. Fog in the valleys photographs best in the first hour of light, and the stone-faced bridges and tunnels give foreground that does not depend on the view.
Hours decide the day
Some historic routes lead to places with fixed opening times. The Bureau of Land Management runs the Garnet Back Country Byway in Montana, which climbs a gravel road to Garnet Ghost Town. The BLM lists the visitor center as open daily from late May through September, from mid-morning to late afternoon, with hours that shift with weather. Confirm the current times with the BLM's Missoula Field Office.
Read that as a photography constraint. A long climb on a back road plus a fixed closing time means the shoot is a morning, not an evening.
Light on painted and pecked panels
Many historic routes pass rock art. Painted panels (pictographs) lose detail in hard midday sun, so shoot them in open shade or overcast light. Pecked panels (petroglyphs) show their relief in low-angle light early or late in the day, but avoid hard shadows across the carving. Never chalk, wet, trace or touch a panel. It damages the surface and is illegal on public land.
The kit that matters on gravel
- One general zoom left on the body, so you change lenses as little as possible.
- A blower and a microfiber cloth in a pocket, not in the bag.
- Sealed bags for bodies and lenses when the road is dusty.
- A small tripod for neon, interiors and dusk, where the site allows one.
- A polariser for glass, water and painted metal.
- A spare battery and a car charger, because cold mornings drain cells.
- Water, a paper map and a full tank, since signal drops out on remote stretches.
Change lenses inside the vehicle with the windows shut. That single habit prevents most sensor cleaning.
Stay safe at the roadside
Pull fully off the pavement before you shoot. Never stand on a live road or a narrow shoulder to line up a sign, and watch for traffic coming around bends on two-lane stretches. On gravel, check that you have a spare tire and know your route out before you leave pavement.
Photograph the boring things
Route history lives in details that do not look like photographs at the time: the concrete edge of an old alignment, a bridge plate, a gas station canopy, a school with the year on the parapet. Shoot them flat and square. They will carry more information in five years than the wide view will. The kinds of historic road and stops worth adding to a longer trip suggest where to look next.